標題殺人法,前提要先把下載過 Box 下載。在上一篇 用 Vagrant 建立 CentOS 6.4,我上網抓了一個 CentOS 6.4(64 位元)的 Box 到本機。
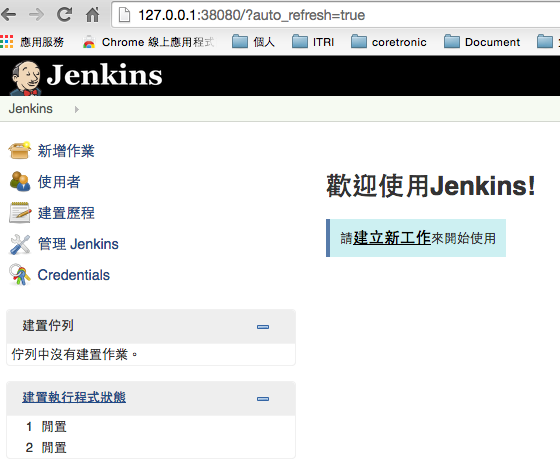
接著我們利用這個 Box 快速做出一個新的 VM 上面跑了 Jenkins。步驟參考下方 gist,然後實體機器瀏覽器打開 http://127.0.0.1:38080/ 就可以看到 Jenkins 老頭了。然後按照之前教的匯出 box,別人或是要搬到機房,就連三分鐘都不用,一分鐘就可以了。
This file contains bidirectional Unicode text that may be interpreted or compiled differently than what appears below. To review, open the file in an editor that reveals hidden Unicode characters.
Learn more about bidirectional Unicode characters
mkdir /path/to/your/jenkins_vm_project | |
cd /path/to/your/jeknins_vm_project | |
# 查看你抓下來的 box | |
vagrant box list | |
# centos64_x86_64 是我替 CentOS6.4 64 取的 box 名稱 | |
vagrant init centos64_x86_64 | |
# vagrant init 會自動產生 Vagranfile | |
# 編輯修改 | |
# 1) 用 bootstrap.sh 來初始化環境 | |
# config.vm.provision :shell, path: "bootstrap.sh" | |
# 2) 將實體機器的 38080 對應至 VM 的 8080 (Jenkins Web GUI 會用到) | |
# config.vm.network "forwarded_port", guest: 8080, host: 38080 | |
vim Vargrantfile | |
# 建立初始化環境的 script | |
# 內容如下方 vagrant_install_jenkins_bootstrap | |
touch bootstrap.sh | |
vim bootstrap.sh | |
# 啟動 VM | |
# VM 啟動後,在實體機器的瀏覽器上連 http://127.0.0.1:38080/ 就可以看到 Jenkins | |
vagrant up |
This file contains bidirectional Unicode text that may be interpreted or compiled differently than what appears below. To review, open the file in an editor that reveals hidden Unicode characters.
Learn more about bidirectional Unicode characters
#!/usr/bin/env bash | |
yum -y install wget | |
yum -y install java-1.6.0-openjdk | |
java -version | |
wget -O /etc/yum.repos.d/jenkins.repo http://pkg.jenkins-ci.org/redhat/jenkins.repo | |
rpm --import http://pkg.jenkins-ci.org/redhat/jenkins-ci.org.key | |
yum -y install jenkins |
0 則回應: